Bathroom Renovation: Step-by-Step Guide to a Dream Makeover
Bathroom renovation in Fulham can transform a dull and outdated space into a luxurious retreat. With careful planning and execution, any bathroom can be turned into a dream bathroom. This step-by-step guide will help you navigate the process of a bathroom renovation, ensuring a smooth and successful transformation.

Step 1: Planning Your Renovation
Planning is the foundation of any successful bathroom renovation. Start by determining the goals of your renovation. Do you want to update the look, improve functionality, or increase storage space? Consider the needs of all household members and make a list of priorities. Setting a realistic budget is crucial. Research the costs of materials, labour, and any additional expenses that might arise. This will help avoid surprises and keep the project on track.
Step 2: Designing Your Dream Bathroom
The design phase is where creativity meets practicality. Begin by measuring your bathroom space. Accurate measurements are essential for creating a functional layout. Consider the placement of major fixtures like the toilet, shower, and sink. Think about the flow of the room and how to maximise space. This is the perfect time to consider a bathroom renovation in Fulham, as local experts can provide valuable insights and design ideas tailored to your needs.
Step 3: Choosing Materials and Fixtures
Selecting the right materials and fixtures is key to achieving a stylish and durable bathroom. Opt for high-quality tiles, countertops, and cabinetry. These elements form the foundation of your bathroom’s aesthetic. When choosing fixtures, consider both functionality and style. Modern fixtures can add a touch of luxury and improve water efficiency. For those looking at bathroom refurbishment in Chelsea, there are numerous local suppliers offering a range of options to suit every taste and budget.
Step 4: Demolition and Preparation
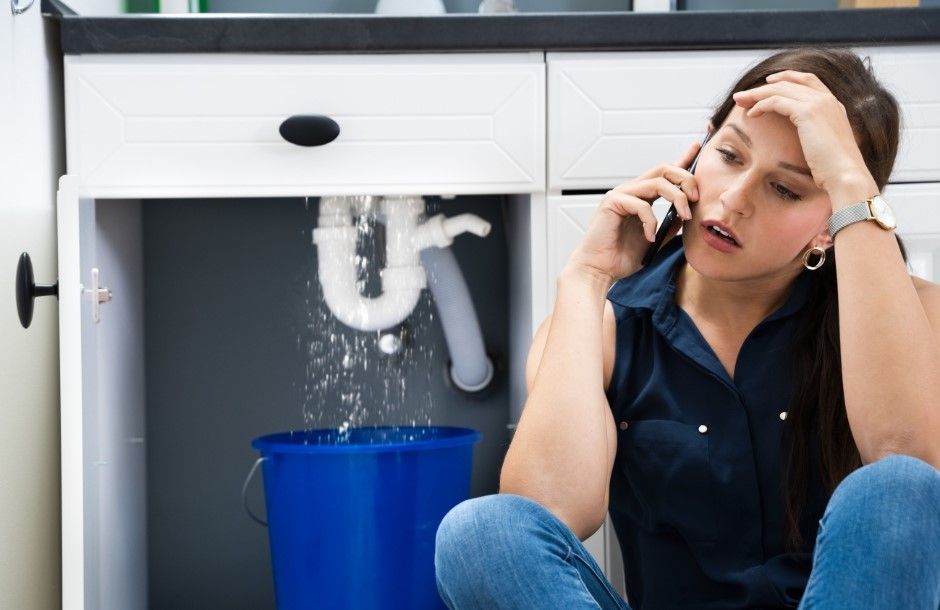
Once the design and materials are finalised, it’s time to prepare for the renovation. This involves demolishing the existing bathroom. Removing old tiles, fixtures, and cabinetry can be a messy job, but it’s necessary to create a blank canvas for your new bathroom. Ensure that all utilities (water, electricity, and gas) are safely turned off before starting the demolition. This step is crucial for avoiding accidents and ensuring a smooth renovation process.
Step 5: Plumbing and Electrical Work
Updating the plumbing and electrical systems is a critical part of any bathroom renovation. Outdated pipes and wiring can cause problems down the line, so it’s essential to replace them with modern, efficient systems. This is especially important if you’re considering a bathroom renovation in Fulham, where older homes may have outdated infrastructure. Hiring licensed professionals for this phase ensures that the work is done safely and up to code.
Step 6: Installing New Fixtures
With the plumbing and electrical work complete, it’s time to install new fixtures. This includes the bathtub, shower, toilet, sink, and any other major components. Ensuring that these fixtures are installed correctly is vital for their functionality and longevity. Professionals specialising in bathroom refurbishment in Chelsea can provide expert installation services, ensuring that everything fits perfectly and works as it should.
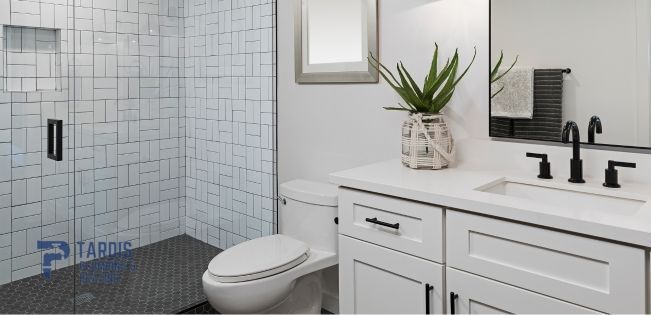
Step 7: Tiling and Flooring
Tiling and flooring are crucial for both the look and functionality of your bathroom. Choose tiles that are both stylish and durable. Porcelain and ceramic tiles are popular choices due to their water resistance and variety of designs. For the flooring, consider non-slip options to enhance safety. The installation process should be precise to ensure a seamless and professional finish. Expert tilers in Fulham can offer advice and installation services to achieve the best results.
Step 8: Painting and Finishing Touches
A fresh coat of paint can transform your bathroom’s look. Choose moisture-resistant paint to prevent mould and mildew. Light colours can make a small bathroom feel larger, while darker shades add a touch of elegance. Once the painting is complete, add finishing touches like mirrors, shelving, and decorative elements. These small details can personalise your bathroom and make it truly unique.
Step 9: Final Inspection and Touch-Ups
Before considering the renovation complete, conduct a thorough inspection. Check for any issues like leaks, uneven tiles, or faulty fixtures. Address any problems immediately to ensure everything is in perfect working order. This step is crucial for achieving a flawless finish and ensuring long-term satisfaction with your bathroom renovation in Fulham.
Step 10: Enjoying Your New Bathroom
With the renovation complete, it’s time to enjoy your new bathroom. The transformation from an outdated space to a modern oasis is rewarding. Regular maintenance, such as cleaning grout and checking for leaks, will keep your bathroom looking and functioning its best for years to come.
A bathroom renovation offers numerous benefits, from improved functionality to increased property value. Whether you’re planning a bathroom renovation in Fulham or a bathroom refurbishment in Chelsea, following these steps will help you achieve a successful and satisfying makeover.
Your dream bathroom is just a renovation away. For reliable and expert bathroom renovation services, contact Tardis Plumbing. As your reliable 24/7 plumber in Fulham and Chelsea, London, Tardis Plumbing offers fast, efficient, and trustworthy plumbing and heating solutions anytime you need them. Visit Tardis Plumbing at 56 Fulham High Street, London, England, SW6 3LQ. Email Tardisplumbing@gmail.com
or call 07301920119
today to start your dream bathroom makeover.
You might also like
Blog

Need expert drain cleaning in Fulham? Discover 10 proven tips to banish clogs and keep your drains running smoothly with professional advice.
Need expert pipe repair and replacement in Fulham? Discover reliable, fast solutions to stop leaks and protect your home from damage.
Discover expert advice on choosing the right fixtures and finishes for your toilet refurbishment in Fulham. Achieve the perfect look with our top tips.